Increase Video Streaming speed in Windows Media Player
Generally, streaming media allows the Web user to kill time by downloading a large file before it can be played. Instead, the media is sent in a continuous stream and is played as it arrives. The compression of the video allows it to be played simultaneously. Depending on your choice of media player and the file’s compression rate, the time taken for the video to stream may vary.
Change video playback speed
Let’s see what we can do to stop the slow streaming video and eliminate choppy PC video playback problems in Windows Media Player. Move the cursor of the mouse to the location of the Start menu of Windows 10 and click the button. Next, type Windows Media Player in the search field to open Windows Media Player. Depending on your version of Windows, you can either find it in the list of programs on your Start Menu or search for it using the Search function. Upon finding it, click on it to open it and maximize the Windows Media Player. Next, click on the Organize option in the upper right corner of the screen. Next, chose Options.
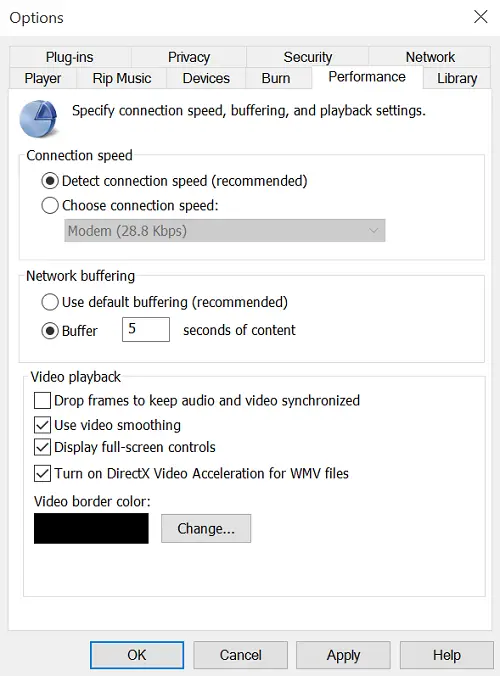
From the pop-up menu for Options, click on the Performance tab. Then, under the Network Buffering option of the Performance tab, check the bullet point for Buffer.
Now, enter a buffering rate between 1-10. Note that, higher values offer a smooth streaming experience. The default is 6. Try giving a value of 7-8 and see if it improves things. Finally, click on Apply, and hit the OK button. Although Microsoft recommends users to use the default buffering values for Windows Media Player, there will be situations where you would want to have them changed. Read: Fix Video streaming problems in Windows.